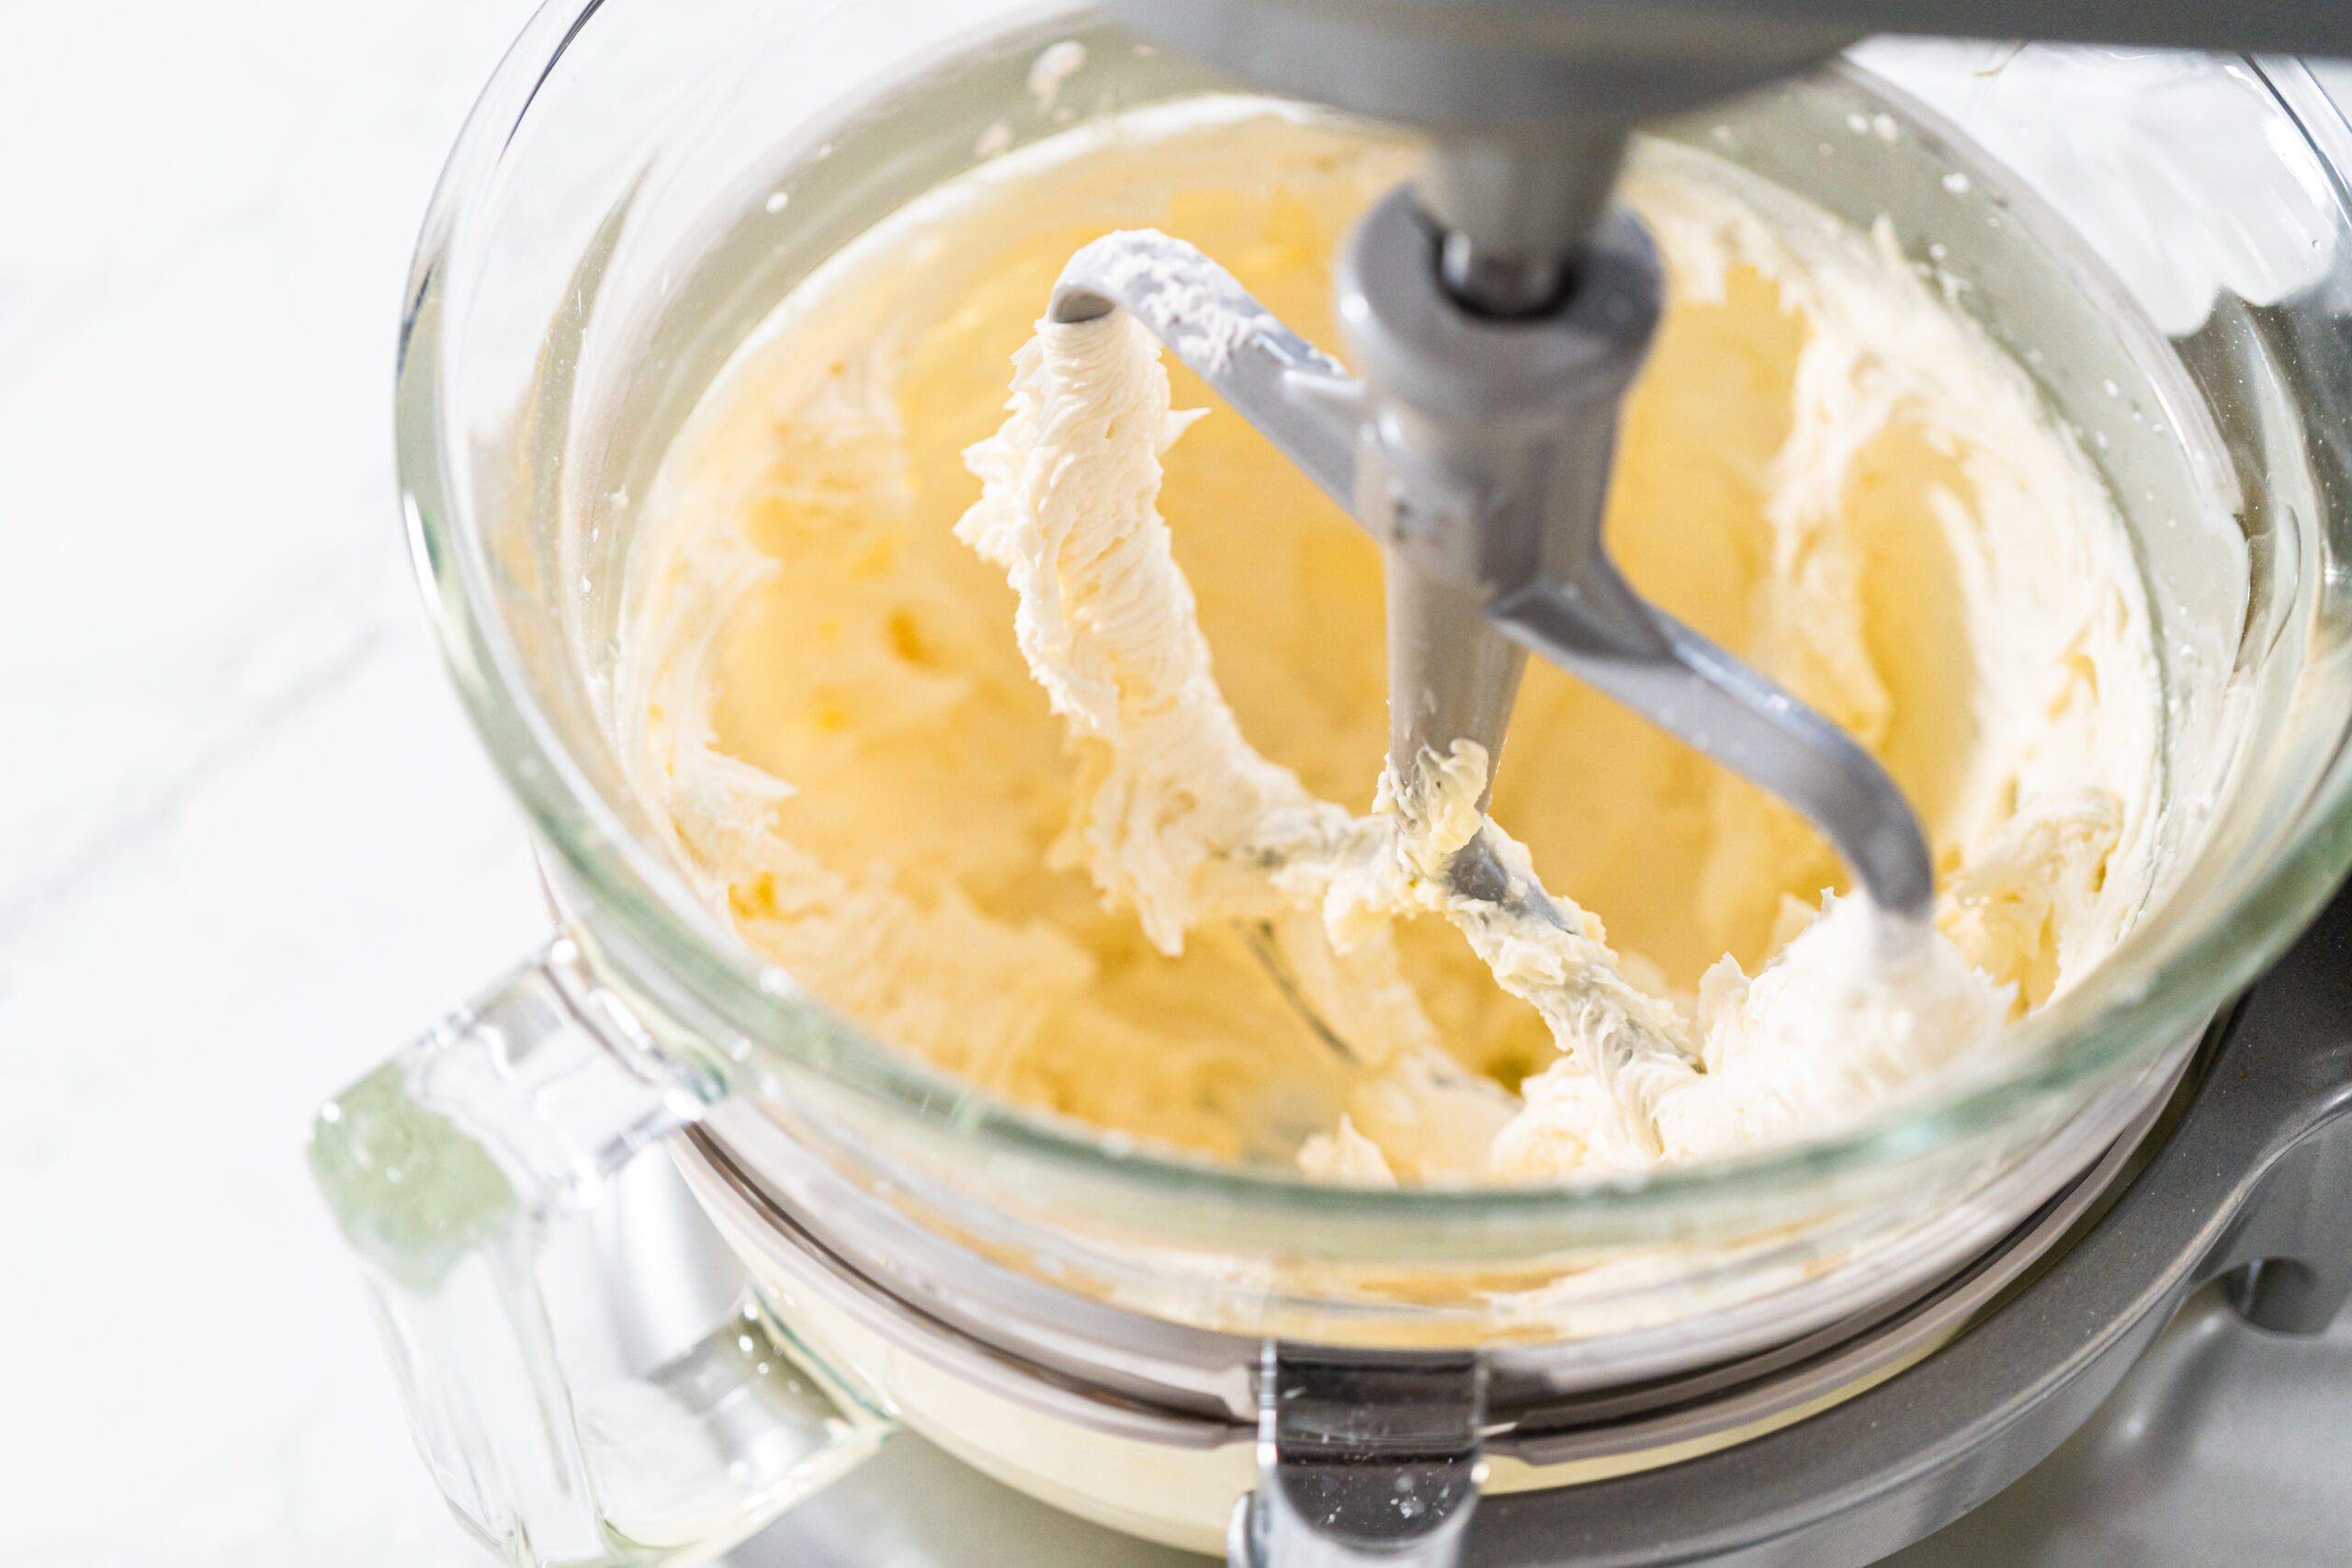
It’s kind of wild to think that people used to make butter by pounding away at a big wooden churn for what probably felt like forever. But now, you can get the same result with a stand mixer. You need 2 ingredients: some heavy cream and a bit of salt. This is also a great recipe to make buttermilk since you get it as a bonus byproduct. Here’s a simple guide to walk you through it. Here’s a simple guide to walk you through it.
Here’s what you’ll need
Ingredients:
- 2 cups of heavy whipping cream (minimum 36% fat content). The cream should be cold.
- Optional, for salted butter: ½ teaspoon of salt
- 1 cup of ice cold water
- Optional add-ins: herbs, garlic, or honey for flavored butter
Tools:
- Stand mixer with the whisk attachment
- Fine mesh strainer or cheesecloth
- Wooden spoon or spatula
- Airtight container for storage
Step 1: Pour the Cream into the Mixer Bowl
Add the heavy cream to the bowl of your stand mixer. The cream should be cold so that the fat solidifies. You can use more than 2 cups you’d like, but make sure not to fill the bowl more than halfway as the cream room might splash around.
Step 2: Start Mixing
Attach the whisk attachment to your stand mixer. Start the mixer on medium speed and whip the cream. It will start to thicken. Whip for 5 to 7 minutes until you notice the cream clumping together and the buttermilk separating. The mixture should have solid yellow clumps and a thin, milky liquid. Stop the mixer.
Tip: If the cream is splattering out, use a towel over the top of the mixer.
Step 3: Drain the Buttermilk
Pour the mixture into a fine mesh strainer or a cheesecloth to separate the butter from the buttermilk. Save the buttermilk in a separate container. You can use it for baking.
Step 4: Wash the Butter
Place the butter in a bowl of ice water. Start kneading it with a wooden spoon or your hands to remove any remaining buttermilk. Don’t skip this step since the butter might spoil faster. The water should start turning milky. Keep changing the water and repeating this process until it runs clear.
Step 5: Add Salt or Flavorings (Optional)
At this point, you can add a pinch of salt if you want the butter salted. You can also mix in herbs, garlic, or honey. Knead the butter to distribute the flavor.
Step 6: Shape and Store
Press the butter into a ball or shape it however you like. Wrap it in parchment paper and put it in a small container. Place it in the fridge. Refrigerated butter can last up to 2 weeks. For longer storage, freeze the butter.
Useful Tips
- Use only fresh, high-fat heavy whipping cream. Do not use ultra-pasteurized cream as it may take longer to whip.
- Make sure the cream and water are always cold during the process. If it’s too warm, the butter might not form properly.
- Use the leftover buttermilk is great for pancakes, biscuits, or baking recipes. You can store it in a sealed container in the fridge for up to a week.
- If your butter gets too hard in the fridge, leave it at room temperature for about 30 minutes.
How Long Should This Process Take?
It’s a super quick process. If you’re new to it, it should maybe take a maximum of 30 minutes. At a minimum, it should take 15 minutes.
How to Use Homemade Butter
- Spread it on warm bread, toast, or muffins.
- Use it to sauté vegetables or meats.
- Melt it over popcorn.
- Add it to baking recipes like cookies, cakes, or biscuits.
- Use it for steaks, seafood, or roasted veggies.
Summary
That’s it! You’ve got homemade butter ready to spread on whatever you want. It’s fresher, tastier, and more fun than anything you’d buy at the store.
Looking for the perfect stand mixer to make butter and so much more? The MisterChef Stand Mixer makes whipping up butter, dough, or even cake batter easier. Reliable, powerful, and easy to use. Shop with us today.


