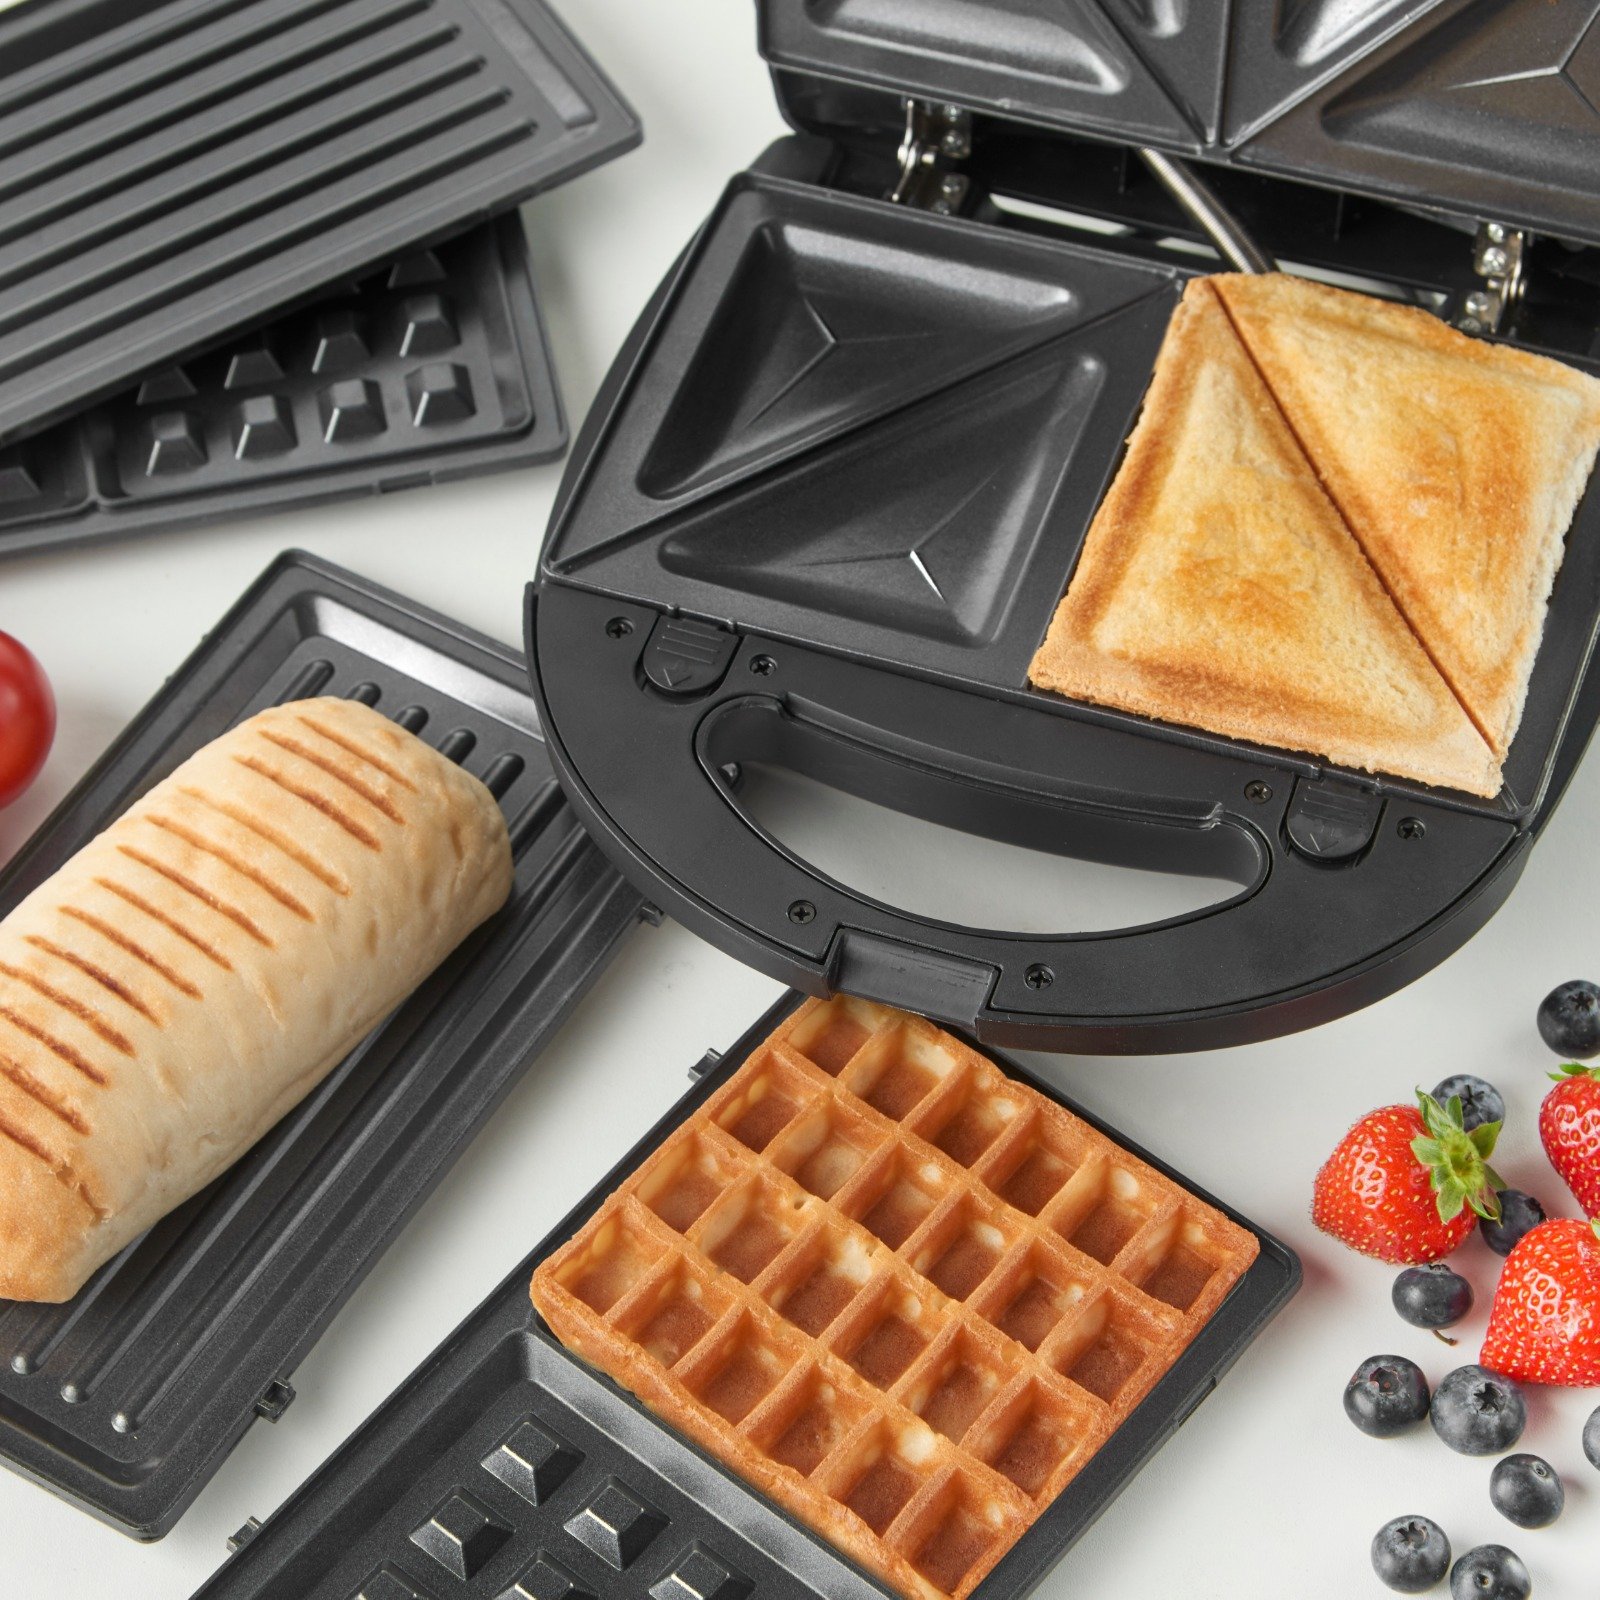
A sandwich maker or panini press is a handy device for toasting bread quickly. It uses two hinged plates that heat the sandwich from both sides. If you’ve been using your sandwich maker all day, you might notice melted cheese and other residues on the plates. Here’s how you can clean them effectively and get those plates looking like new again.
How to Clean a Sandwich Maker

When cleaning a sandwich toaster, you need to be careful so that you don’t damage its non-stick surface. Here’s how to do it:
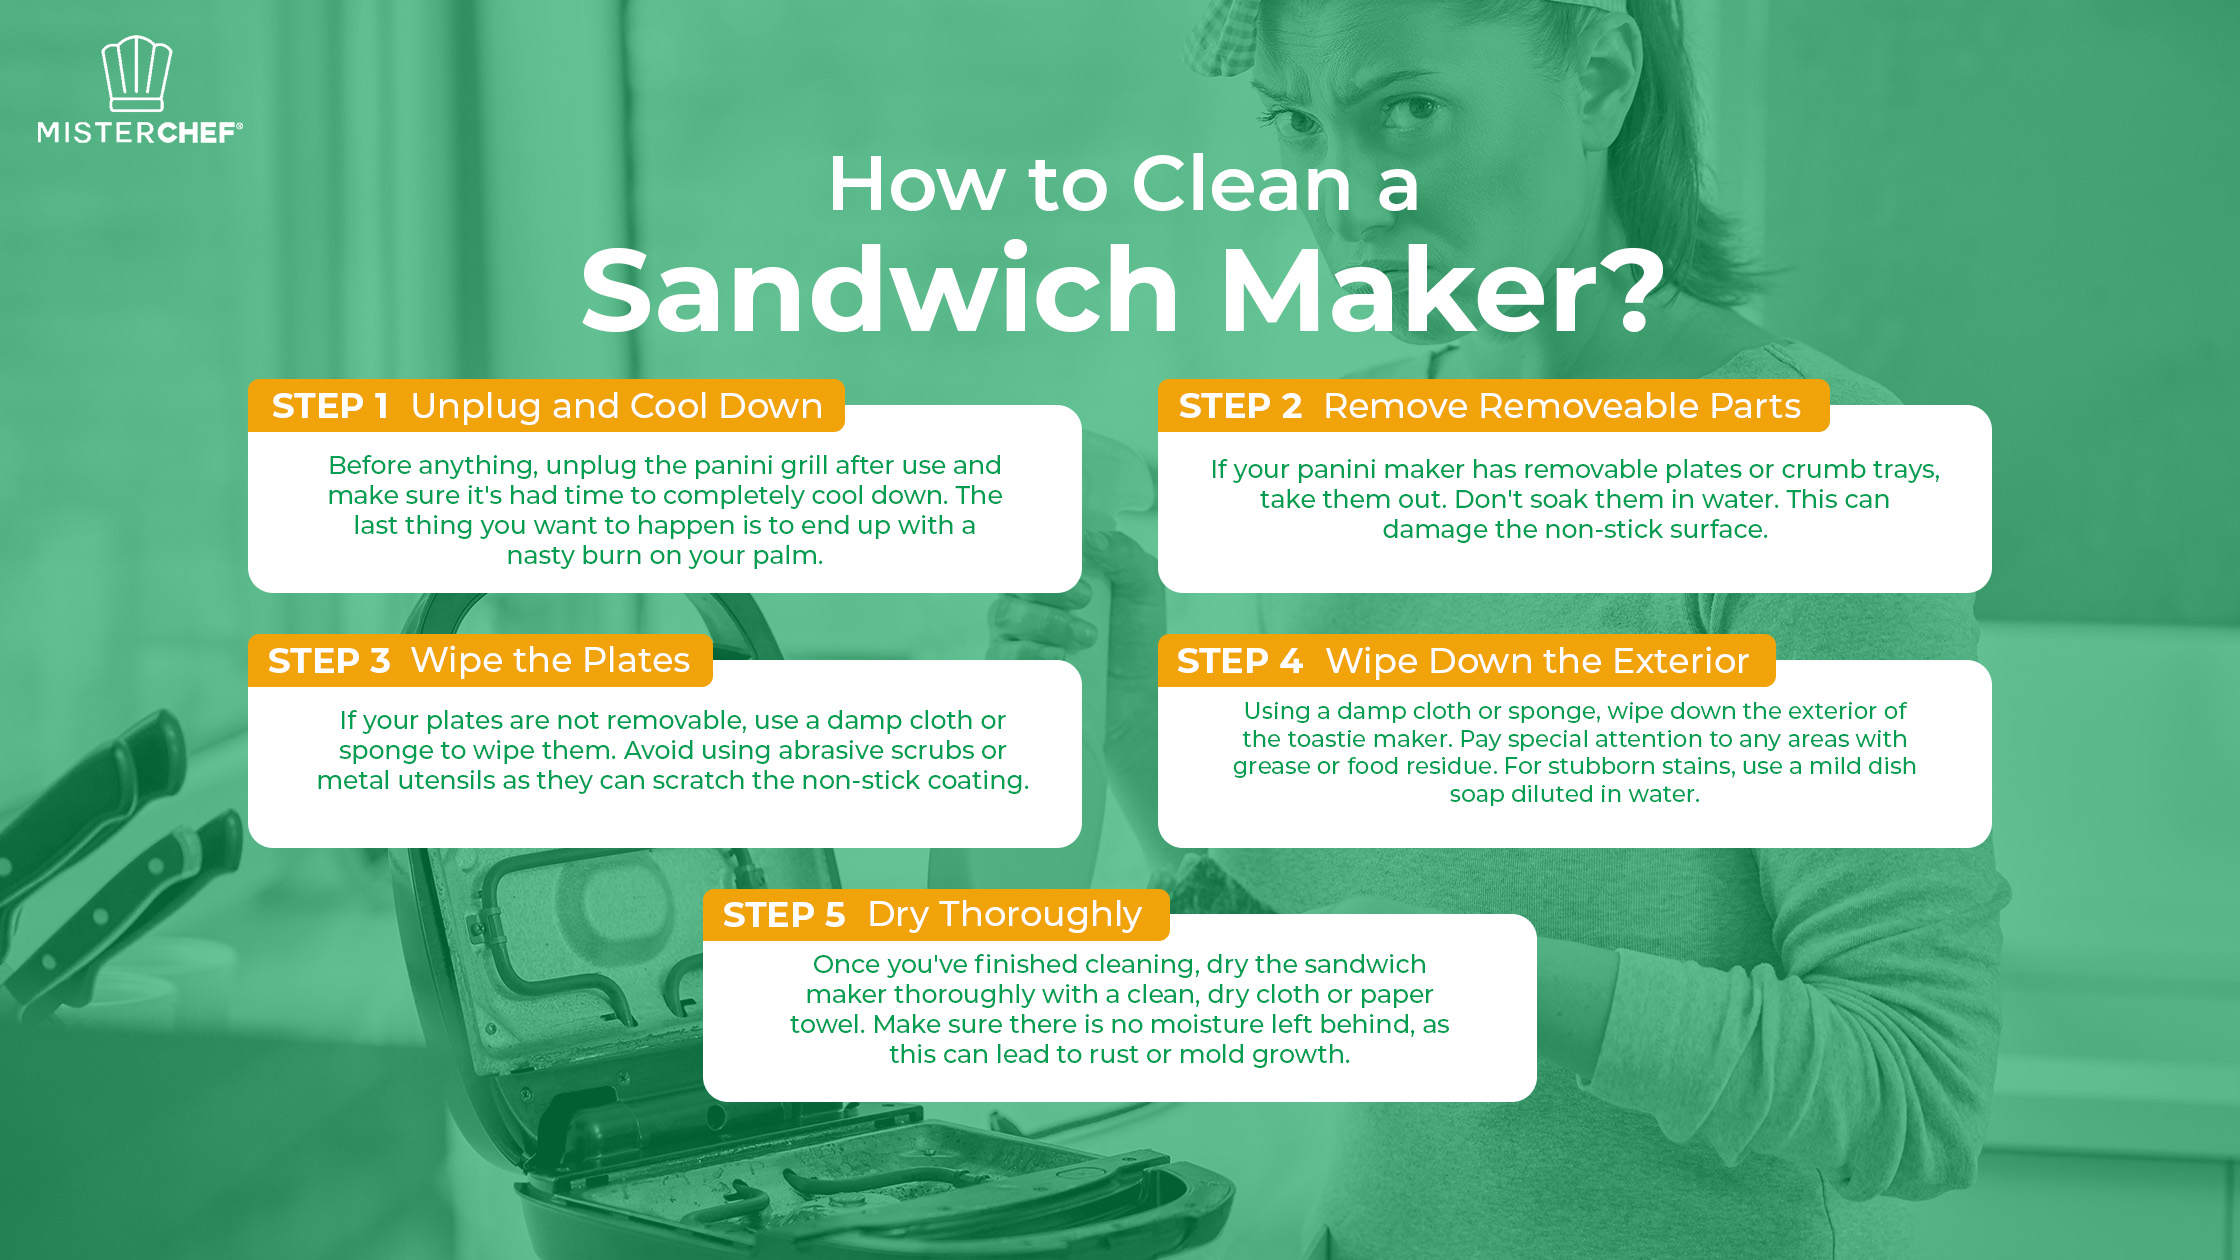
Step 1: Unplug and Cool Down
Before anything, unplug the panini grill after use and make sure it’s had time to completely cool down. The last thing you want to happen is to end up with a nasty burn on your palm.
Step 2: Remove Removable Parts
If your panini maker has removable plates or crumb trays, take them out. Don’t soak them in water. This can damage the non-stick surface. In fact, don’t soak any part of the sandwich maker. If the plates are dishwasher-safe, you might be able to just pop them in there. But make sure to double-check the manufacturer’s instructions first. If they’re not dishwasher-friendly, no worries. Just wash them with warm, soapy water instead. Use a sponge or soft cloth to scrub away any stuck-on food particles. Rinse the plates thoroughly with water and dry them with a paper towel.
Step 3: Wipe the Plates
If your plates are not removable, use a damp cloth or sponge to wipe them. If the residue is not too stubborn, this might be all you need. Avoid using abrasive scrubs or metal utensils as they can scratch the non-stick coating. Pay attention to the grooves and crevices where food may have accumulated. For more stubborn, burnt-on residues, you can make a paste of baking soda and water. Apply this gently to the affected areas and let it sit for a couple of minutes. Gently scrape the residue off with a plastic or silicone spatula. Again, avoid metal.
Step 4: Wipe Down the Exterior
Using a damp cloth or sponge, wipe down the exterior of the toastie maker. Pay special attention to any areas with grease or food residue. For stubborn stains, use a mild dish soap diluted in water. For those hard-to-reach areas, like the hinges, you can use a toothpick or a small brush to dislodge any stubborn debris.
Step 5: Dry Thoroughly
Once you’ve finished cleaning, dry the sandwich maker thoroughly with a clean, dry cloth or paper towel. Make sure there is no moisture left behind, as this can lead to rust or mold growth.
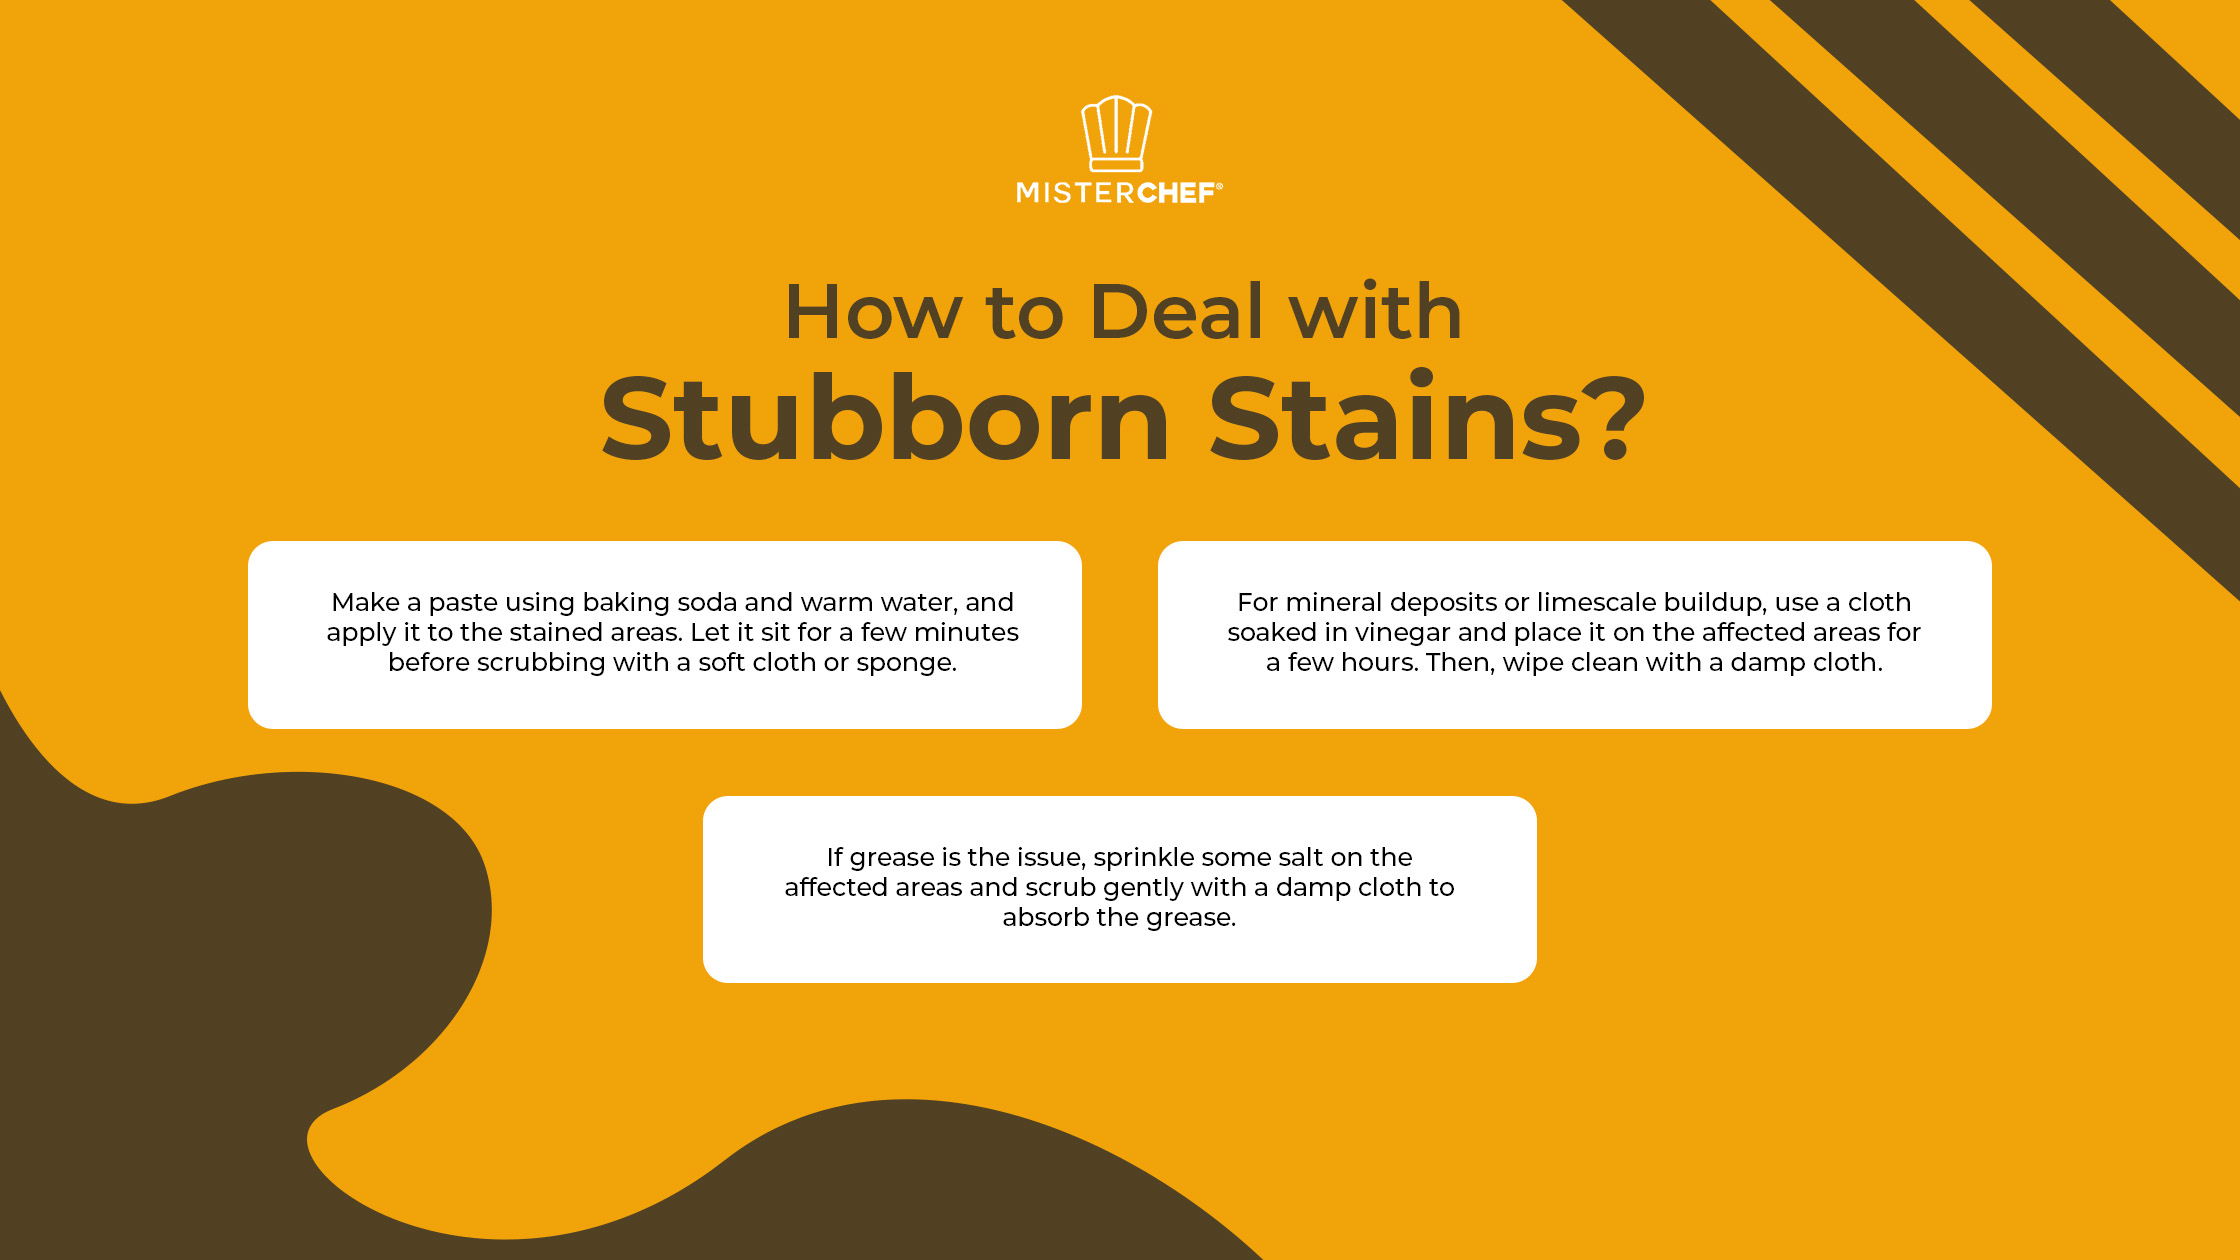
How to Deal with Stubborn Stains

If you encounter stubborn stains or residue on your sandwich maker, try these tips for effective cleaning:
- Make a paste using baking soda and warm water, and apply it to the stained areas. Let it sit for a few minutes before scrubbing with a soft cloth or sponge.
- For mineral deposits or limescale buildup, use a cloth soaked in vinegar and place it on the affected areas for a few hours. Then, wipe clean with a damp cloth.
- If grease is the issue, sprinkle some salt on the affected areas and scrub gently with a damp cloth to absorb the grease.
FAQs
What should I do if the non-stick coating starts peeling off?
It’s best to stop using the sandwich maker as it might not only affect its performance but could also be a health hazard. Consider replacing it or contacting the manufacturer for advice.
How often should I clean my sandwich maker?
Ideally, you should clean your sandwich maker after each use to prevent the buildup of grease and food residue. However, if you use it less frequently, clean it at least once every few weeks.
Can I make anything other than sandwiches with my sandwich maker?
Absolutely! Most panini grills or toastie makers can also be used to cook items like omelets, French toast, pancakes, and even reheat leftovers like pizza.
Summary
Cleaning your sandwich maker doesn’t have to be a chore. By following these simple steps, you can keep your appliance clean and in top condition for years to come. So go ahead, whip up some delicious sandwiches! And for an even better experience, try out the MisterChef sandwich maker today!


